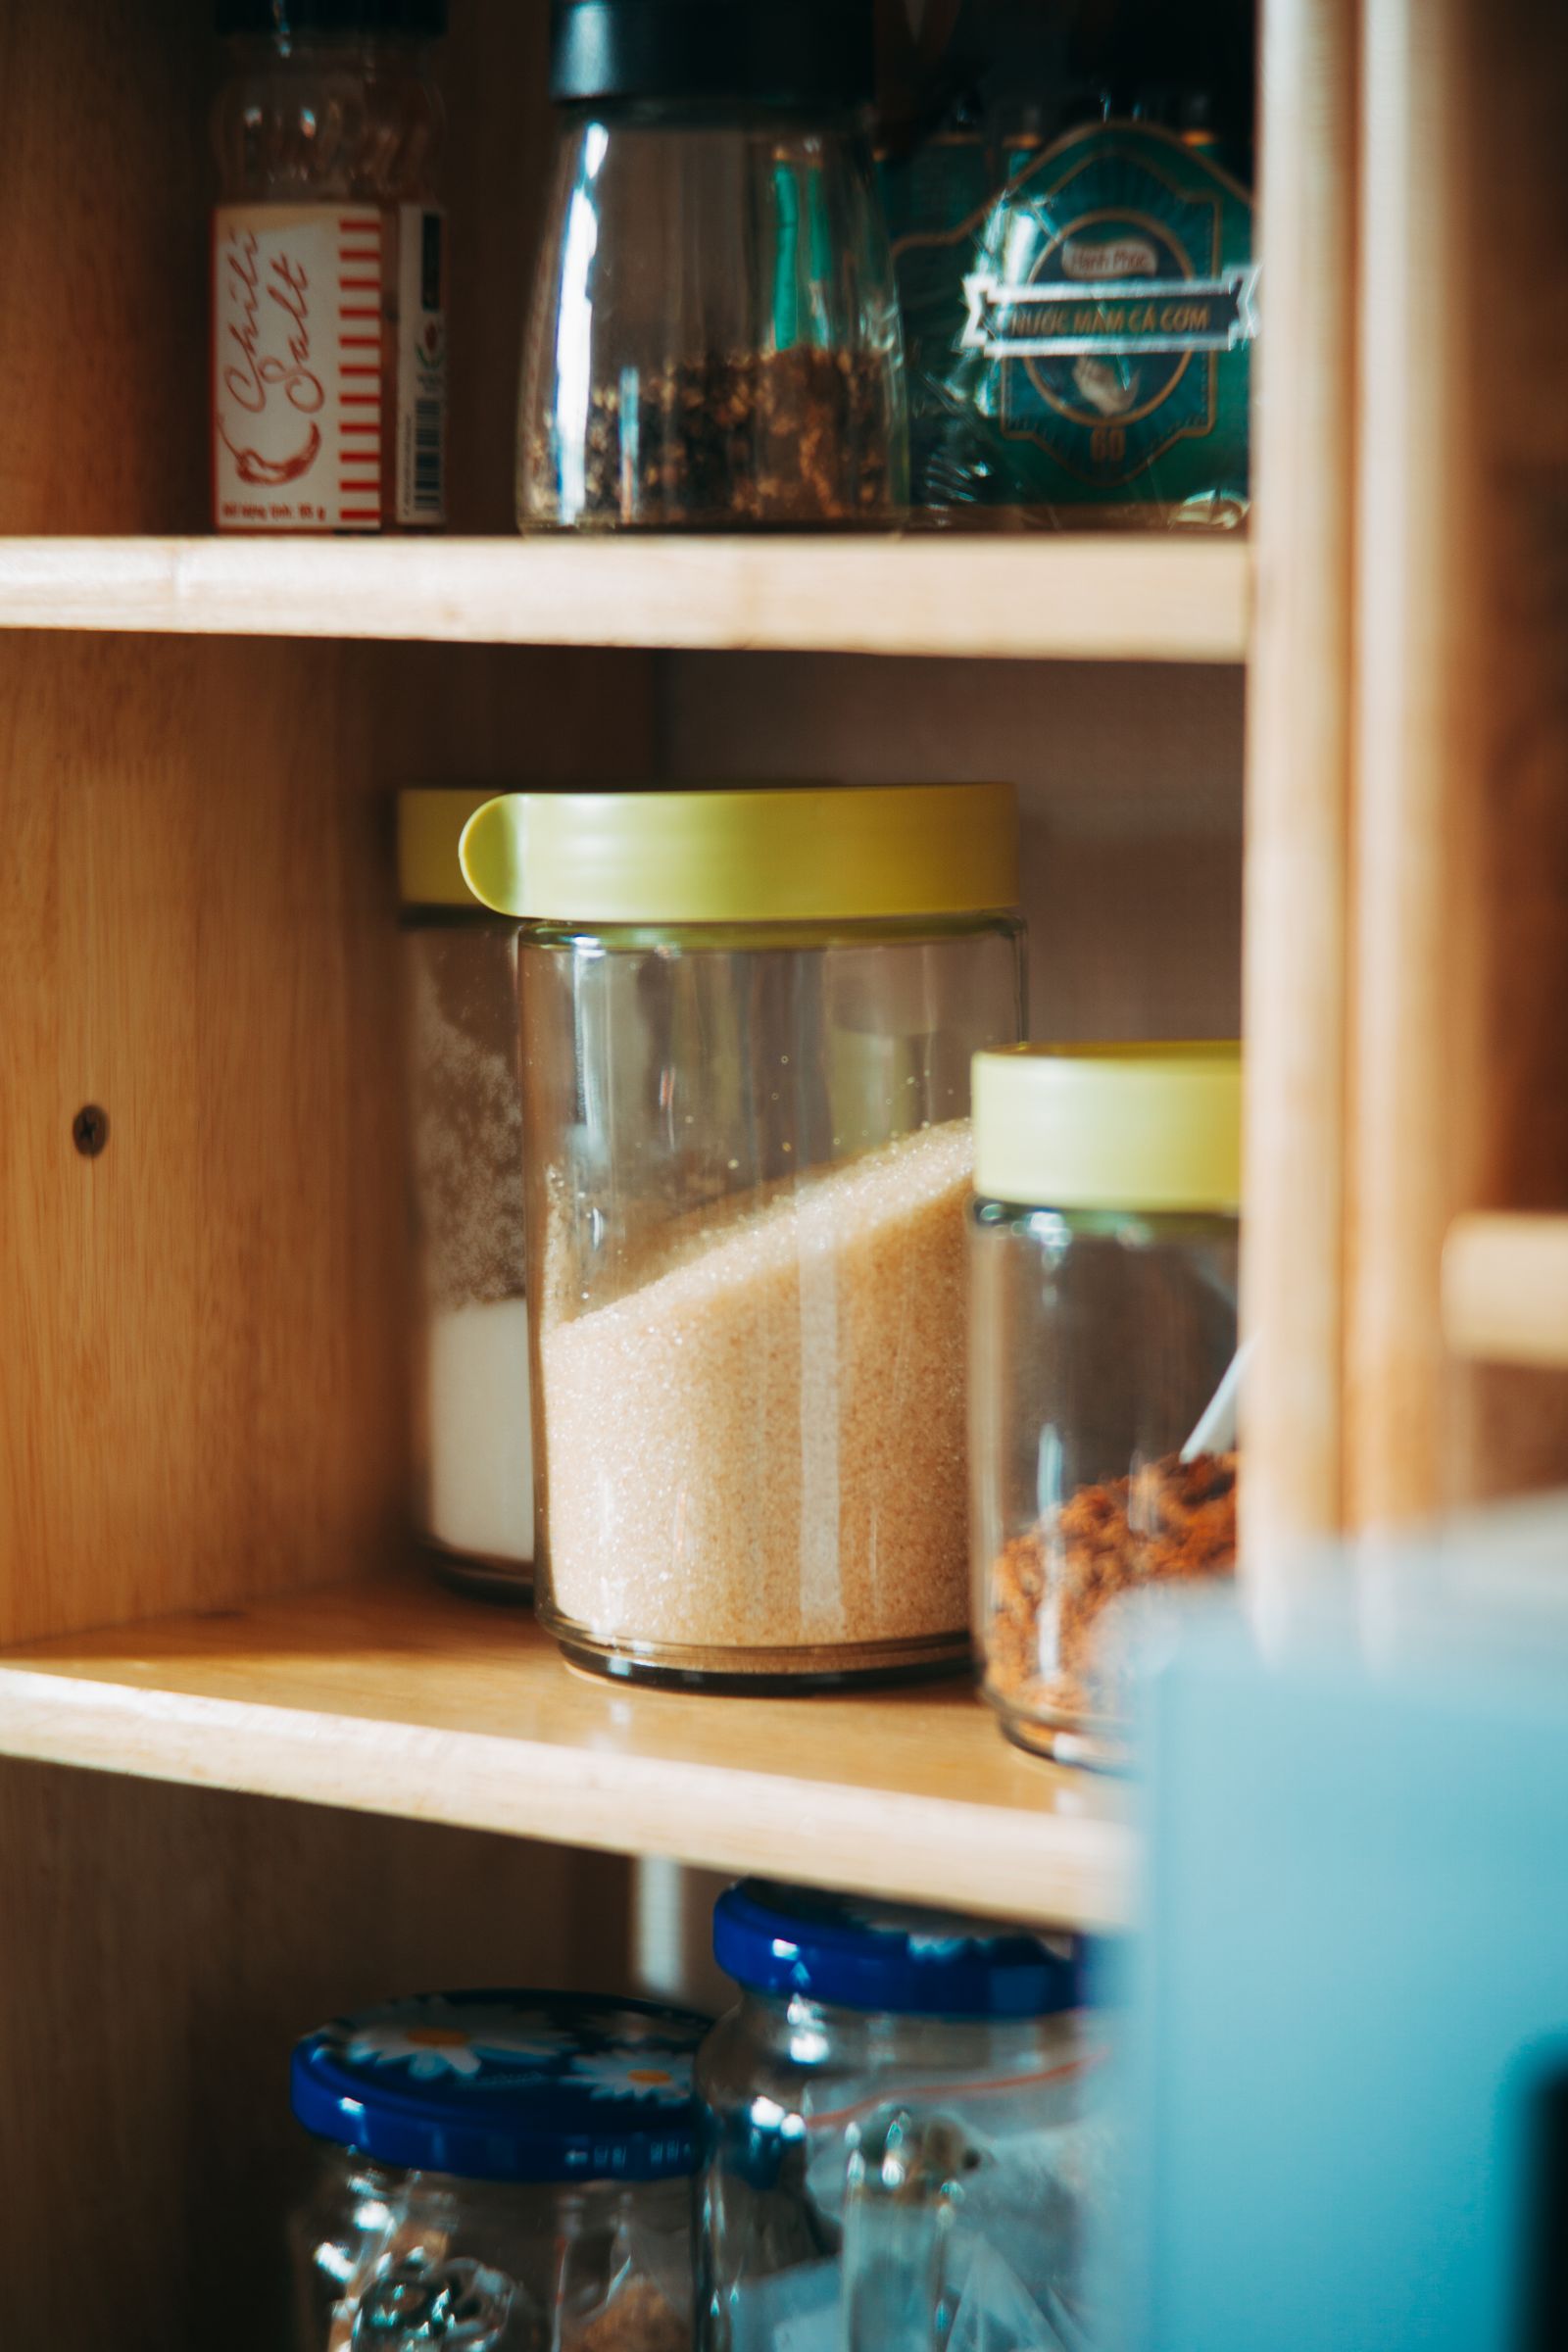
A harvest is not finished when it leaves the garden. The useful finish line is when the food is cleaned appropriately, sorted, labeled and placed where its quality can be protected. Start with what you can realistically eat and store; do not preserve more than you can process safely.
1. Create three destinations before filling shelves
Use an eat-first zone for bruised or short-lived produce, a cool-storage zone for suitable intact crops, and a pantry or preservation zone for food prepared with a tested method. This prevents the oldest or most fragile food from disappearing behind newer items.
2. Inspect before storage
Separate damaged, moldy or pest-affected produce. Do not assume that trimming makes every item safe. Keep storage areas clean and dry, and follow crop-specific guidance from a reliable extension or food-safety source.
3. Match the location to the crop
Some produce needs refrigeration, some benefits from cool dark conditions and some should be kept away from moisture. A countertop, refrigerator drawer, basement shelf and decorative pantry are not interchangeable. Check temperature, humidity and ventilation requirements for each crop.
4. Label the date and the contents
Use readable labels that include the crop and storage date. Put older food in front, record anything that needs checking and avoid mystery jars or unlabeled freezer packages. A simple inventory is more valuable than a picture-perfect shelf.
5. Plan a weekly use-first meal
Choose one meal each week around the oldest suitable produce. Move ingredients into the eat-first zone before shopping. If storage is repeatedly overflowing, grow or buy less of that crop next season and protect space for what your household consistently uses.
6. Use tested preservation guidance
Canning, dehydrating, freezing and fermenting have different safety requirements. Use current instructions from a recognized food-safety or extension source. Do not improvise processing times, jar sizes, acidity or storage conditions.
Want to connect storage with the rest of the backyard?
The Self-Sufficient Backyard is a paid third-party guide covering a broader collection of backyard projects. Review the seller's description and decide whether its scope fits your property, climate, budget and goals.
See what the complete guide includes →Paid affiliate link. We may earn a commission if you purchase, at no additional cost to you. We do not promise specific results.General educational information only. Follow current crop-storage and food-safety guidance for your location and preservation method.